How-To Guides · Cars
How to Change a Flat Tire (Step by Step)
A flat tire doesn't have to ruin your day. Here's how to change one safely, step by step, using the tools that came with your car.
1. Step 1: Get Safe
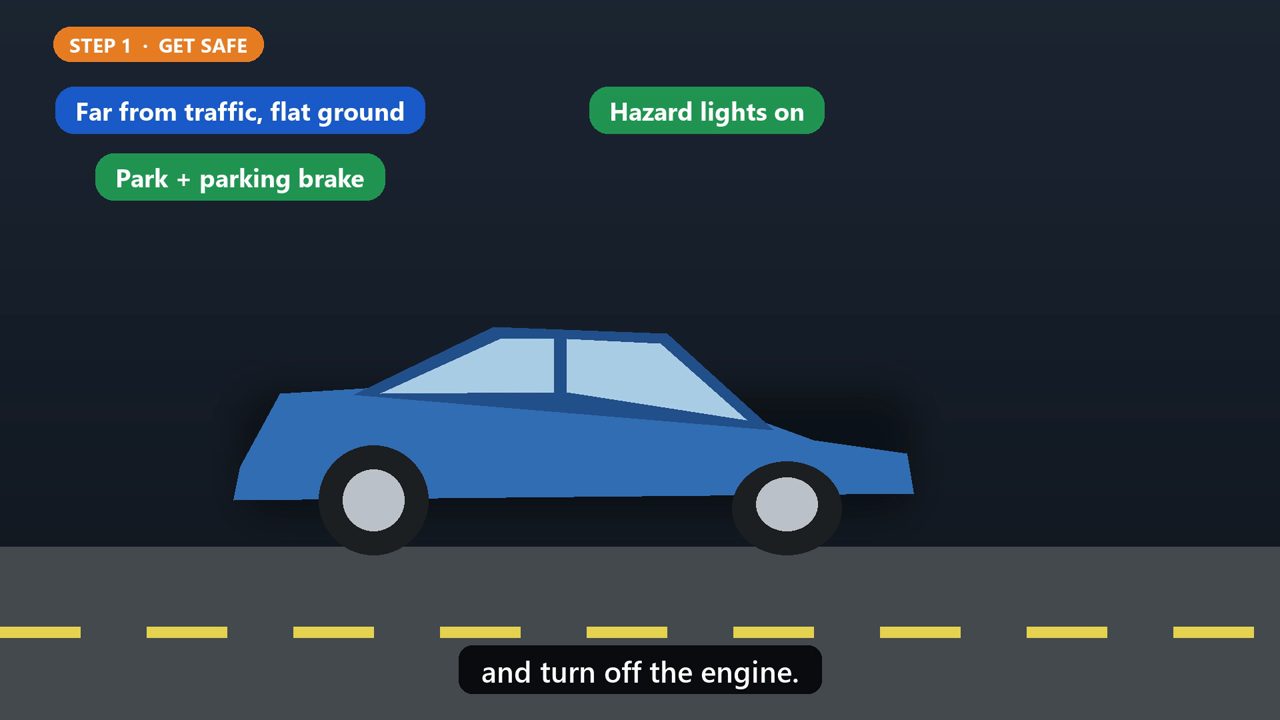
Step one. Pull over somewhere safe, as far from traffic as you can, on flat, solid ground. Turn on your hazard lights, put the car in park, set the parking brake, and turn off the engine.
2. Step 2: Block The Wheels
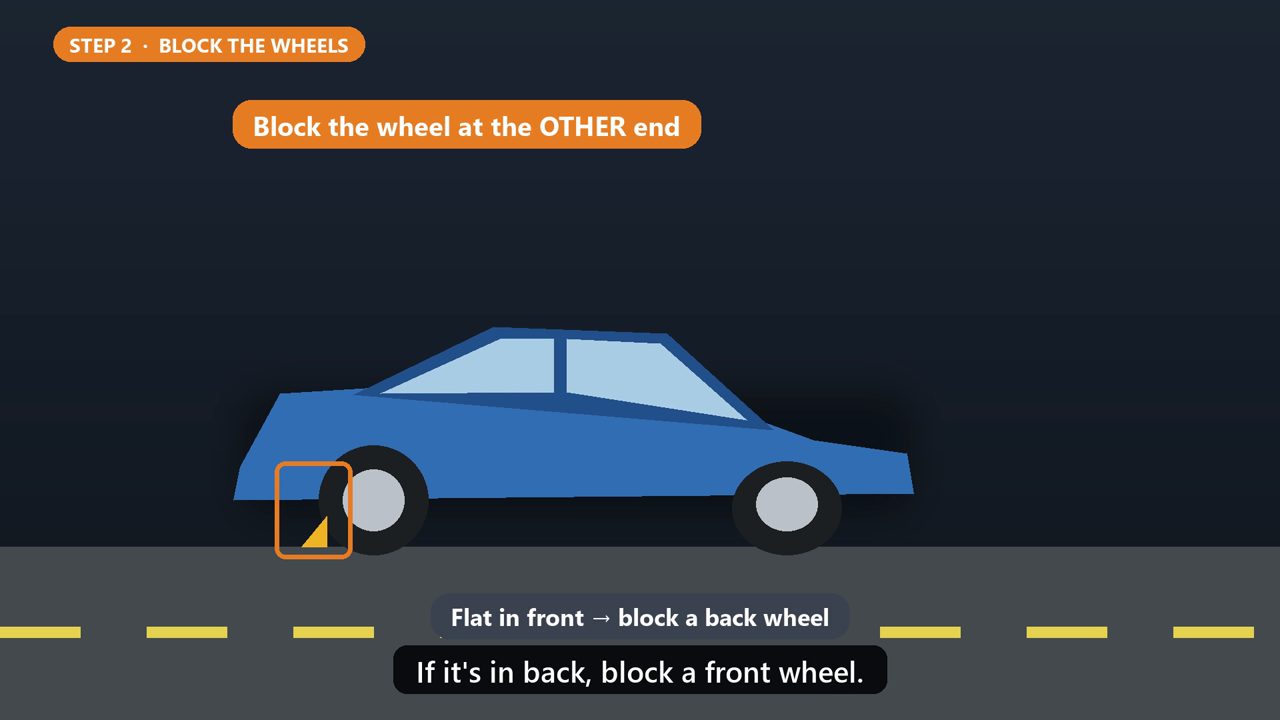
Step two. Block a wheel on the other end of the car from the flat, using a wheel wedge, a brick, or a large rock. If the flat is in front, block a back wheel. If it's in back, block a front wheel.
3. Step 3: Get The Tools
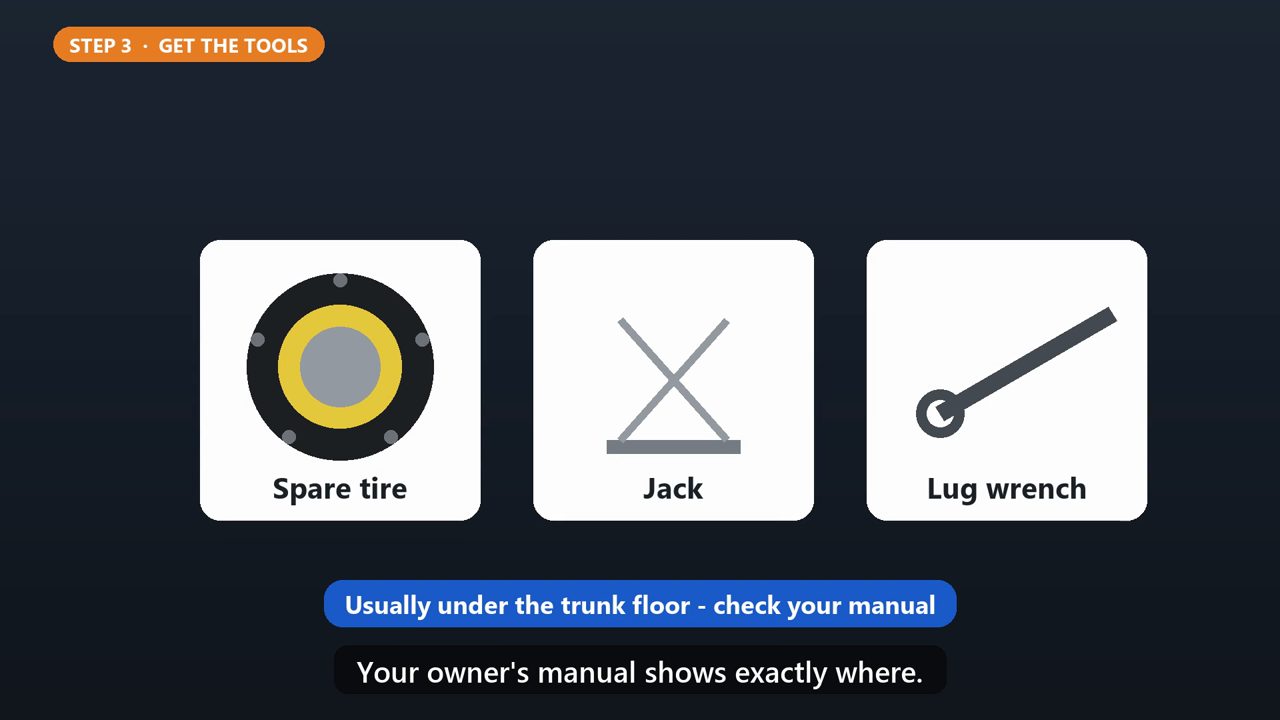
Step three. Get out the spare tire, the jack, and the lug wrench. They're usually under the trunk floor. Your owner's manual shows exactly where.
4. Step 4: Loosen The Nuts
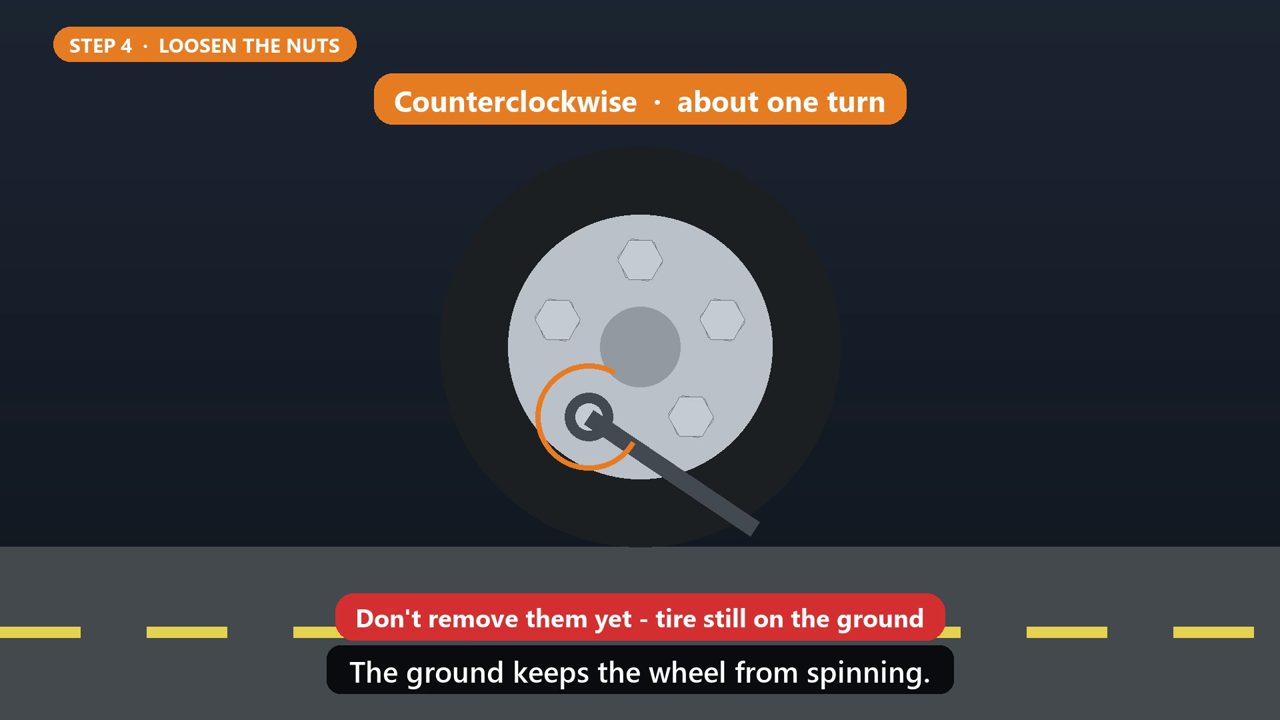
Step four, and this one's important. While the tire is still on the ground, loosen each lug nut about one turn, turning the wrench counterclockwise. Don't take them off yet. The ground keeps the wheel from spinning.
5. Step 5: Jack It Up
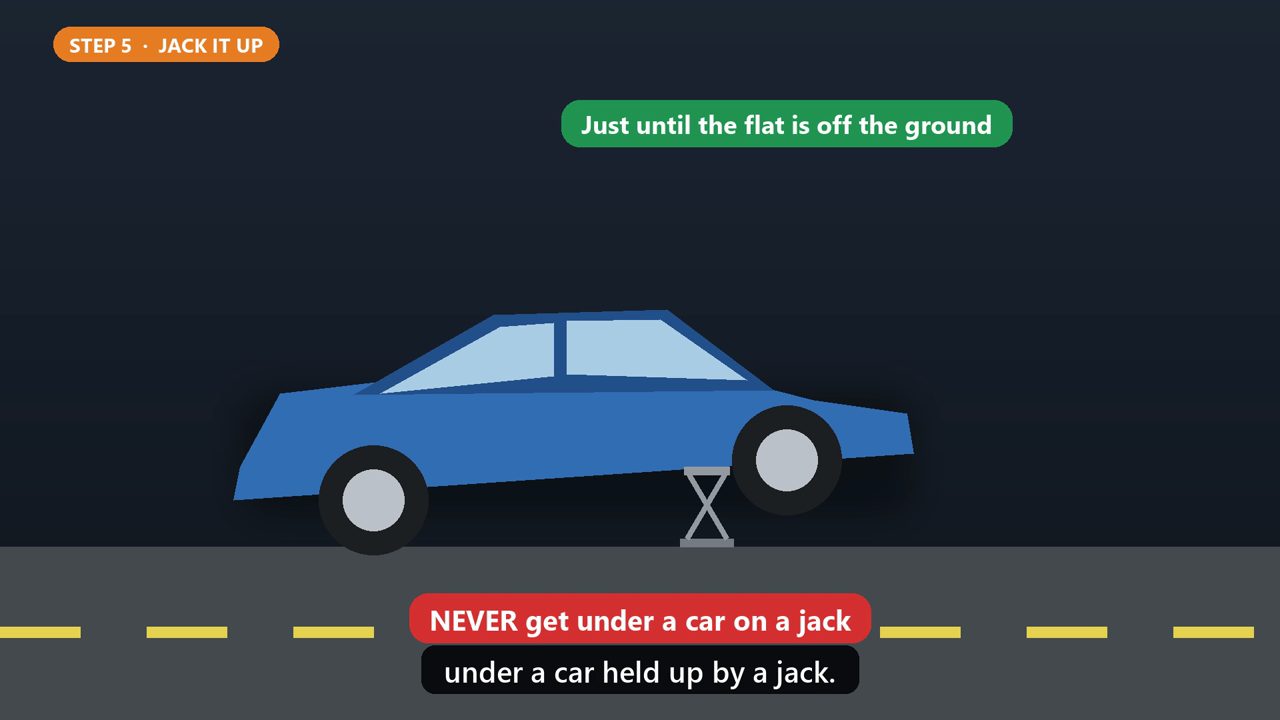
Step five. Place the jack under the car at the jack point shown in your owner's manual. Raise the car just until the flat tire is off the ground. Never put any part of your body under a car held up by a jack.
6. Step 6: Swap The Tire
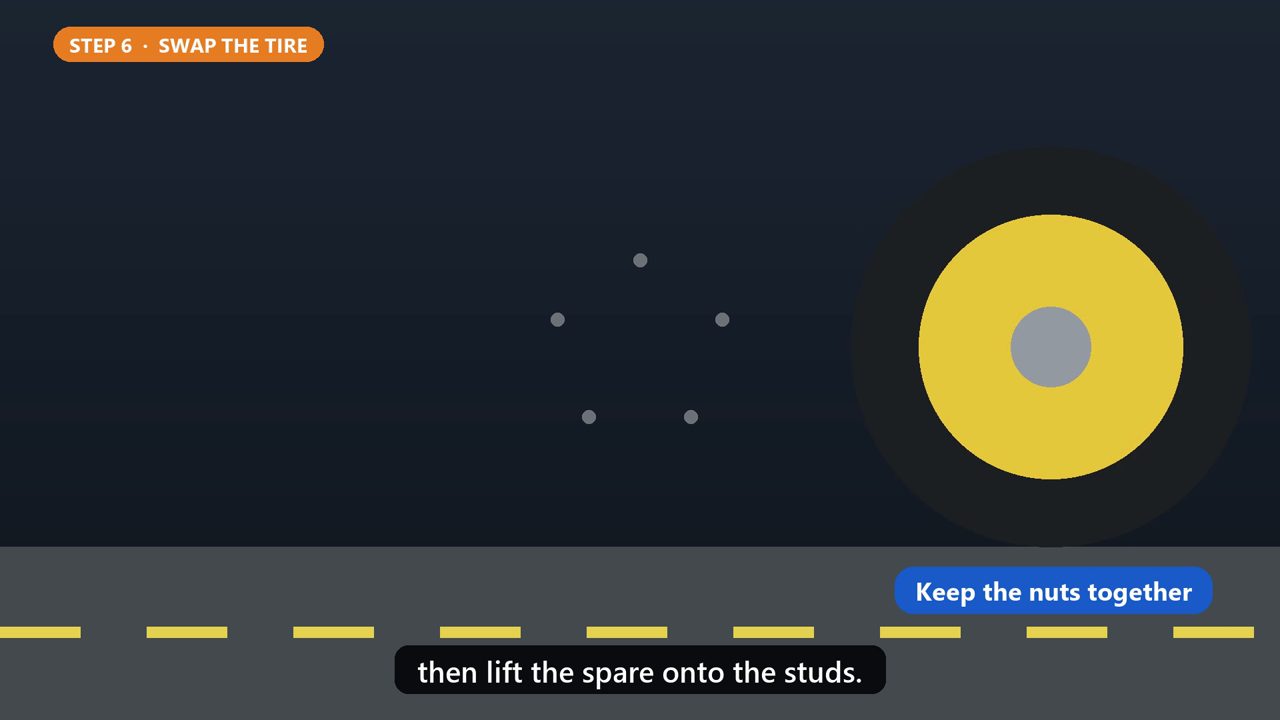
Step six. Remove the lug nuts the rest of the way, and keep them together so they don't roll away. Pull the flat tire straight toward you, then lift the spare onto the studs.
7. Step 7: The Star Pattern

Step seven. Screw the nuts on by hand, then snug them with the wrench in a star pattern. Instead of going around in a circle, skip to the nut across from the last one. This pulls the wheel on evenly and centers it.
8. Step 8: Lower And Tighten
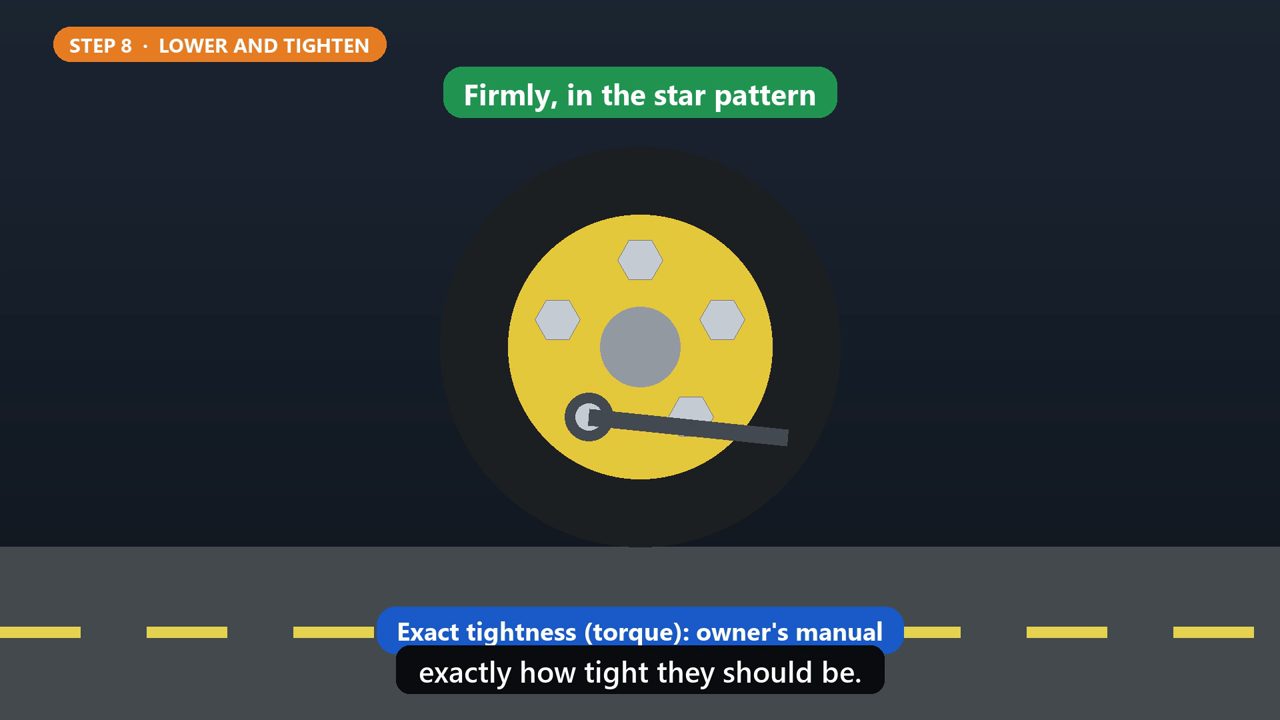
Step eight. Lower the car all the way to the ground, and remove the jack. Then tighten every nut firmly, again in the star pattern. Your owner's manual lists exactly how tight they should be.
9. Step 9: Before You Drive
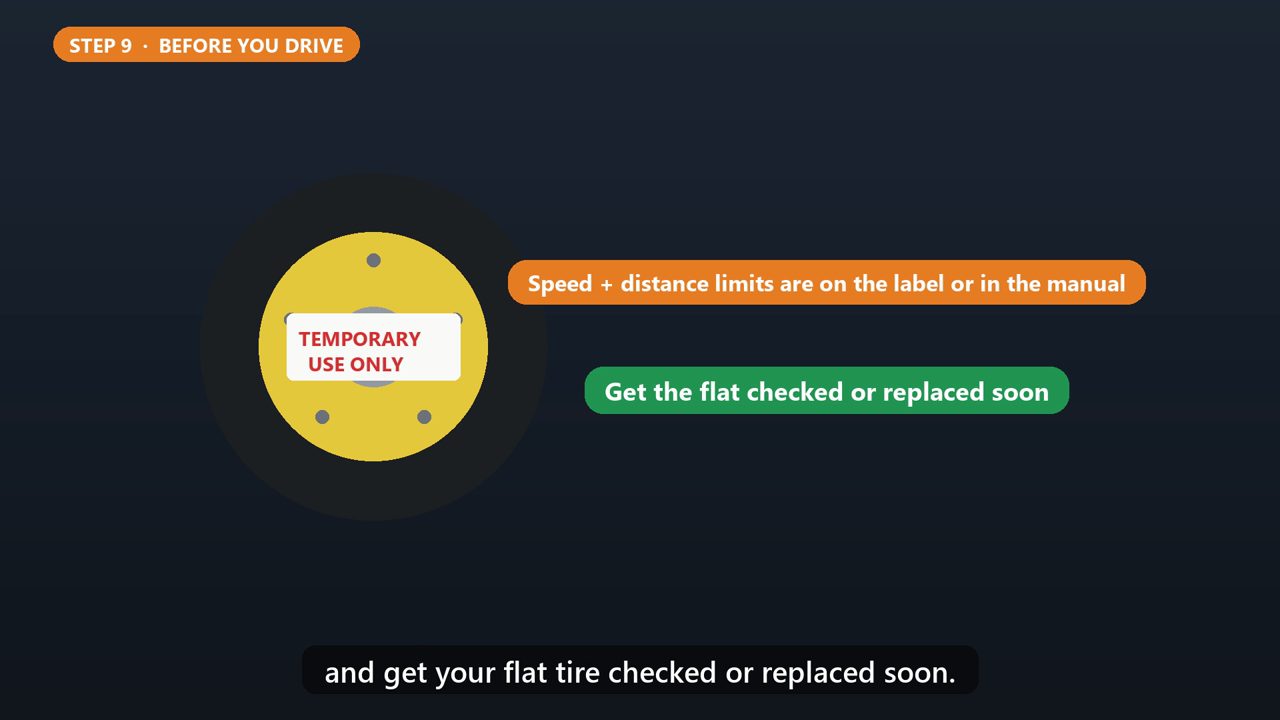
Last step. Put the flat and your tools away. If you're on a small temporary spare, check the label on it or your manual for its speed and distance limits, and get your flat tire checked or replaced soon.
Tools that make this easier
Simple Google Sheets + Excel tools from WiscHaven. Buy once, no subscription.

Checked against the official sources above. Steps can change as apps update - tell us if something looks different: wischavenindustries@gmail.com